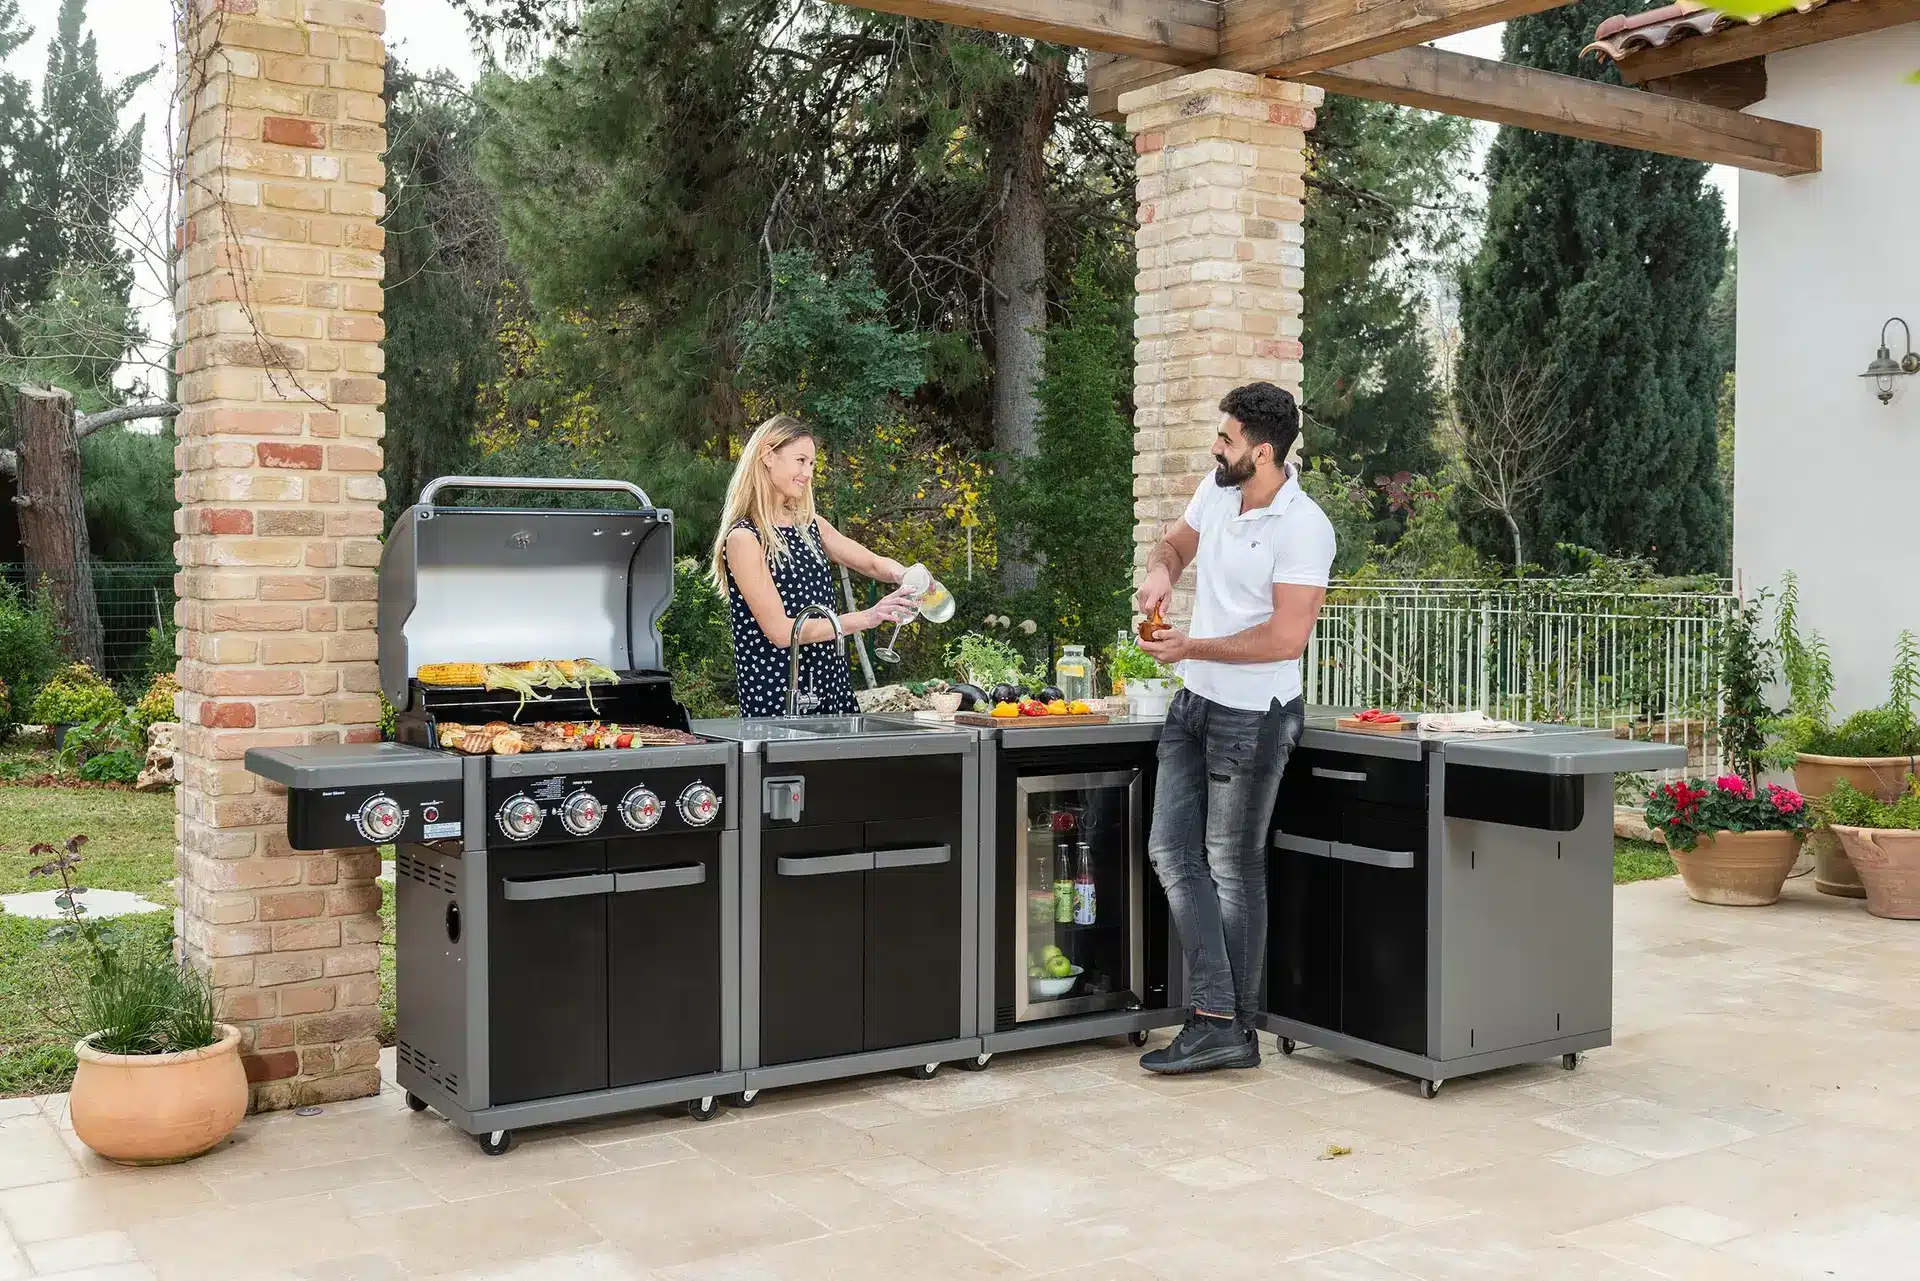
To safely ignite your gas BBQ, first open the grill lid to allow any gas buildup to disperse. Next, turn on the gas supply. Turn the control knob labeled ‘IGNITION BURNER’ to the MAX position and then activate the INSTASTART™ ignition button. To light additional burners, turn their respective control knobs. Always confirm that you can see the flame in each burner to ensure they have ignited properly.
For optimal cooking, it’s recommended to preheat your gas BBQ for 15-20 minutes before you start. Your BBQ is ready for cooking when the built-in thermometer indicates a temperature of 250 degrees Celsius. Keep in mind that preheat times may vary based on weather conditions and the heating power of your burners.an answer to this item.
Caution: A working BBQ should be supervised at all times. Do not turn on the BBQ for preheating and leave it unattended.
After preheating your BBQ, use a grill brush to scrub away any lingering debris from the grates. For a more comprehensive clean, you can remove the grates and soak them in warm, soapy water.
Note: It’s not recommended to clean your grates in a dishwasher as doing so can damage the porcelain coating.
Additional Tip: After cleaning and drying the grates, it’s a good practice to lightly coat them with cooking oil. This not only helps to prevent food from sticking but also aids in maintaining the grates’ condition.
It’s recommended to check the gas lines and connections at least annually or at the start of the BBQ season. Examine them for any cracks, holes, or signs of wear and tear.
Tip: Use soapy water to spray the connection areas and watch for bubbles, which could indicate a gas leak.
Caution: If you have any concerns or spot potential issues, consult with a certified plumber or gas fitter in your area for a thorough inspection and possible repairs.
Propane tanks should always be stored in a well-ventilated area, shielded from direct sunlight. Indoor or enclosed storage, such as in a garage, is not advisable.
Note: If you store the gas bottle under the BBQ, make sure the knob on the gas regulator, which is connected to the gas bottle, is securely set to the “CLOSE” position.
If you smell gas, immediately shut off the gas supply, extinguish any open flames, and disconnect the gas bottle. Evacuate the area around the BBQ for safety.
Important: If the gas smell persists after 5 minutes, it’s crucial to contact emergency services for immediate assistance.
he Coleman Revolution BBQ is designed to reach cooking temperatures efficiently under normal conditions. With all burners on MAX and the lid closed, it should:
Performance may vary depending on:
If your BBQ isn’t reaching the expected heat, consider the following possible causes:
Check your gas bottle level — it might be empty or nearly depleted.
Food residue or grease buildup can block burner holes. Use a BBQ cleaning brush and a pin to carefully clean them.
Even light wind can cool the firebox and disrupt the flame. Try relocating your BBQ to a more sheltered area, away from breeze exposure.
Some newer regulators may restrict gas flow if connected too tightly. Try loosening the regulator slightly (while still ensuring it’s firmly secured) to allow better flow.
Only clean the burners after the BBQ has completely cooled, and always disconnect the gas supply before performing any maintenance.
An accumulation of excess fat and oil commonly causes flare-ups. The risk is substantially reduced when using Coleman Revolution’s Flare-Free technology. To further mitigate the chance of flare-ups, maintain a clean grill by emptying the drip tray and Flare-Free cup after each use.
Caution: Flare-ups not only pose a risk to your BBQ but can also cause significant damage to surrounding areas and pose a safety hazard to users. Regular cleaning of the BBQ firebox is essential for safe operation.
Yes, conversion from propane to natural gas is possible, but it must be performed by a certified plumber / gas fitter. To ensure your warranty remains valid, you must obtain and keep written proof of the conversion completed by the licensed professional.
Please note that Coleman is unable to provide support, parts, or guidance for such conversions due to liability insurance limitations.
For reference, Coleman Revolution BBQs are compatible with LPG (liquefied petroleum gas).
Materials Needed:
Instructions:
For Deep Scratches on Uncoated Stainless Steel:
Removing Scratches from Other Stainless Steel Items:
Tips to Maintain and Prevent Scratches:
FAQ:
In 2019, the Australian Gas Association (AGA) updated the national safety standards for LPG barbecue regulators. As a result, all new BBQs imported into Australia must now be fitted with a new-style inner thread regulator (commonly known as a Type 27 POL connector) instead of the older outer thread type.
This change was made to enhance safety. The new regulator includes a built-in safety valve that prevents gas from flowing unless the connection is fully secured, reducing the risk of gas leaks.
If your gas bottle has the old-style outer thread connection, the solution is simple:
You can swap it for a new bottle with the updated connection at any service station or LPG swap-and-go location across the country. Most outlets now stock both bottle types, and your new BBQ will be compatible with the current standard.
Find Your Barbecue or Outdoor Kitchen Module Assembly Manual.